Facebook is known as a place online where people can meet others, share information and create communities of interest. This is why Facebook group pages are so popular, as many groups have thousands of members at once.
If you want to create your own Facebook group page for a specific interest, it’s pretty easy. You will automatically become the group administrator and manage all aspects of the group. This becomes important as more people join.
This guide will show you how to create and manage a group page on Facebook.
How to create a group page on Facebook
Creating a Facebook group page is very easy and does not require anything other than a Facebook account. When you’re ready to create a group, log into your Facebook News Feed and follow these steps.
- Move it up and click the Menu icon in the upper right corner with the dotted box.
- In the new sidebar, select Groups. Go to the Create Group page.
- Here you need to enter the name of the group, privacy and visibility settings and, if you want, invite your friends to the group. Then select Create.
- From here, you’ll want to do a few things to keep your collection intact. Scroll down and you will see the Continue Setup Group box on the right. You can choose to complete tasks.
- On the left you will see the admin tools sidebar. Also, there are a few things members need to determine before joining a group. For example, you can set group rules or set questions that a user must answer before becoming a member.
- You can also create an initial post to introduce the group to new members. This can be done using the text box at the top of the group feed.
After completing these steps, invite new members to the group. To do this, click the Invite button next to the group name.
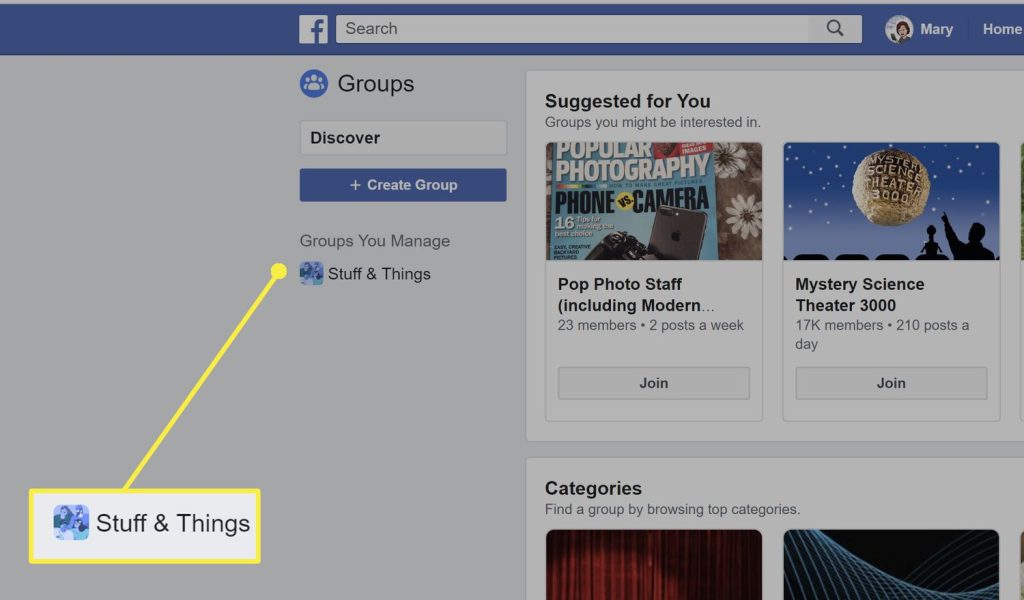
Manage group pages
Once the group page is complete, various controls are available to manage the group. Depending on your group’s privacy settings, you have some control over who is in the group and what they post.
Setting a group page to a private page allows you to view and approve or decline new member requests. You can also ask organic questions that users can answer to gain access to the group.
If you make the group public, you won’t be able to see new members, but you will be able to see posts by members. You can also access Admin Assist options that allow you to set message and action criteria and have Admin Assist automatically apply them.
Here’s how to use all of the Admin Toolbar options.
Member’s request
This option is only available if the group is set to private. Here you can find out who has applied to join the group, accept or reject their request. You can view some information about a user, such as location and answers to membership questions, to decide whether to apply for membership.
Inviting members to a private group allows them to log in without answering any questions themselves.
Automatic confirmation of the member
This option is only available for private groups. Here you can set some parameters like quizzes, location and duration on Facebook. Requests that meet these criteria are then automatically assigned orders.
Membership question
If you’ve made your group private, here you can set the questions new members must answer before they can join the group. These questions can be found in the Member Requests section.
Pending post
Posts posted by other group members and sent to you for approval before posting to the group.
Scheduled post
You can see our upcoming posts here. For scheduled post, follow these steps:
- Click Write Post in the Scheduled Posts section, or go to the group’s main feed and type in the Post text box.
- After composing your message, select the calendar icon in the lower right corner.
- Set a date and time to schedule this post, then select Schedule.
Activity Report
Here you can see all the admin tasks and member activities of the group. You can filter activities by date, specific managers/managers, specific group members, or activity type.
Group rule
This is where you can set the group rules that members must follow. It is important because it sets a precedent for behavior within the group and sets guidelines for exiting the group.
Member-Reported Content
You can view group content reported by other members here. You can review these reports and decide whether to take action.
Review alert
If desired, you can configure specific keywords or activities to alert you when anything happens in your group. This can be a great tool for coordinating groups if you want to make sure you’re following the rules.
Group quality
Here, Facebook notifies you if the group’s content violates Facebook’s policies as a whole and allows you to control Facebook’s participation in the group. A group may be deactivated if the group quality is too low.
Development group
This feature allows Facebook to suggest groups for potential users to join. You can choose specific settings for who you want to promote your group to on Facebook.
Creating a group on Facebook is easy
Groups can be a great place to grow a community of people who share an interest in a topic, share experiences, and help others. Facebook makes the process of creating and managing groups so easy that you can grow them with pride.


